Growing microgreens is an incredibly accessible and rewarding experience that can provide a nutritious boost to any meal. With minimal supplies and simple care, you can cultivate a thriving crop of these nutrient-dense greens in just a few short weeks. The best part? Experimenting with different varieties is easy and fun, allowing you to discover the perfect microgreens for your taste buds.
If you’re new to this world of tiny, yet mighty, greens, don’t worry – I’ll guide you through the process step by step, from sowing those first seeds to harvesting a bountiful crop.
What Are Microgreens?
Microgreens are a type of young leafy greens that burst with flavor and color when added to various dishes. Harvested within 7-14 days of germination, these nutrient-rich greens encompass a range of varieties such as arugula, beet greens, cabbage, and radish. While often used as a garnish, microgreens can be incorporated into salads, soups, and even breakfast sandwiches for an instant boost in flavor and visual appeal.
As an added bonus, they are also a valuable source of essential vitamins and minerals. Whether you choose to use them as a flavorful addition or a nutritious supplement, microgreens offer a delicious and wholesome way to elevate your culinary creations.
What are some popular microgreens?
The world of microgreens is a vibrant one, boasting a diverse array of options to tantalize your taste buds. Among the most popular varieties are arugula, basil, beets, broccoli, cabbage, chard, chickpeas, collard greens, kale, kohlrabi, and land cress, which offer distinct flavor profiles and textures. For instance, arugula imparts a peppery zest, while basil contributes a bright, herbaceous note. Beets and radishes bring a sweet and spicy kick, respectively.
Experimenting with these microgreens can lead to delightful discoveries, as each one has its unique characteristics waiting to be savored.
Benefits of Microgreens
Packed with vitamins, minerals, and antioxidants, microgreens have been touted as a superfood that can deliver a multitude of health benefits. Research has consistently shown that these young greens can positively impact heart health, regulate blood sugar levels, fortify immunity, and even provide protection against certain types of cancer.
Furthermore, microgreens are an excellent choice for those seeking to shed pounds or maintain a healthy weight due to their low-calorie and high-fiber content. As the impressive list of benefits continues to grow, it’s little wonder that microgreens have become a staple in many health-conscious individuals’ diets.
Essential Equipment in Growing Microgreens
Seeds
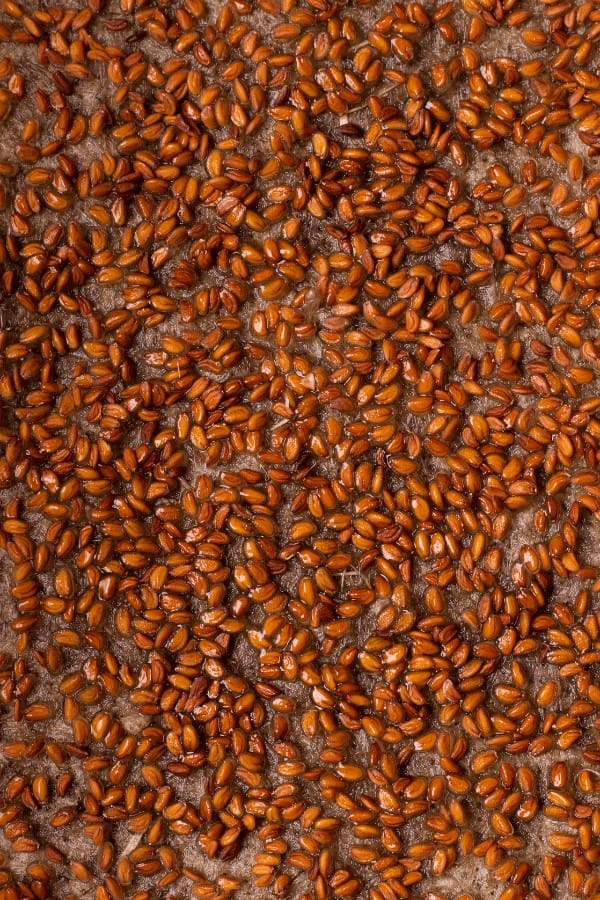
For a thriving microgreen harvest, start by sourcing high-quality seeds. You can easily find a diverse range of options online or in-store at your local garden center. Take advantage of this opportunity to mix things up and explore different flavor profiles and textures, as unique varieties will add excitement and variety to your microgreen growing experience.
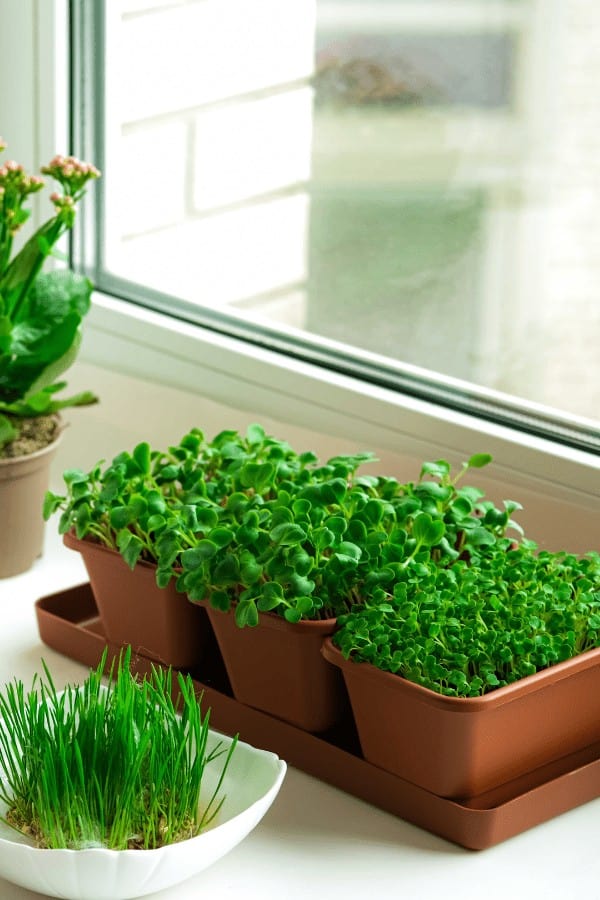
Pots or trays
When selecting containers for your plants, make sure they have built-in drainage mechanisms, such as pot feet with holes or tray inserts with small openings. By doing so, you’ll ensure that excess water can escape and reach the soil’s surface, preventing root rot and promoting healthy plant growth.
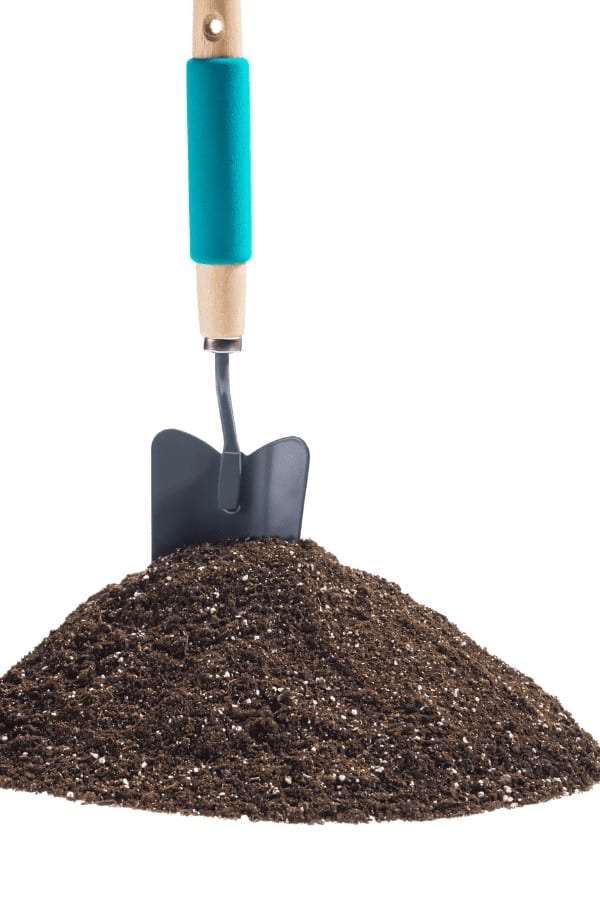
Potting mix

When selecting a potting mix for your plants, look for one that is characterized by its light and airy texture, which allows the roots to thrive in a well-ventilated environment. It’s crucial to avoid using garden soil, as it may be too dense or contain unwanted pests and diseases that can harm your plants.
Water
When cultivating microgreens, it’s essential to use high-quality water to prevent any potential harm to the young seedlings. Tap water, in particular, may contain impurities such as chemicals or minerals that could have adverse effects on your microgreens’ growth and development. To ensure optimal results, always opt for filtered or distilled water instead.
Here are 8 simple tips on how to grow microgreens:
Choose the right location.
To ensure the optimal growth and development of microgreens, it’s essential to provide them with sufficient sunlight. Ideally, they require at least six hours of direct sunlight per day. However, if you reside in a region with colder climates or have limited natural light, don’t worry! You can still successfully cultivate microgreens indoors by using grow lights. This allows for controlled and precise lighting conditions, ultimately promoting healthy growth.
Prepare your soil
For microgreens to flourish, they require a well-draining and nutrient-dense growing medium. While it’s convenient to buy a pre-mixed potting soil, you can also create your own custom blend by combining equal parts of perlite, vermiculite, and compost.
Sow the seeds

With the groundwork laid out, it’s now time to plant the seeds. Begin by thoroughly moistening the soil until it reaches an optimal level of hydration. Next, disperse the seeds across the surface in a thin and uniform layer. Finally, gently press the seeds into the soil using your fingertips, ensuring they’re securely anchored.
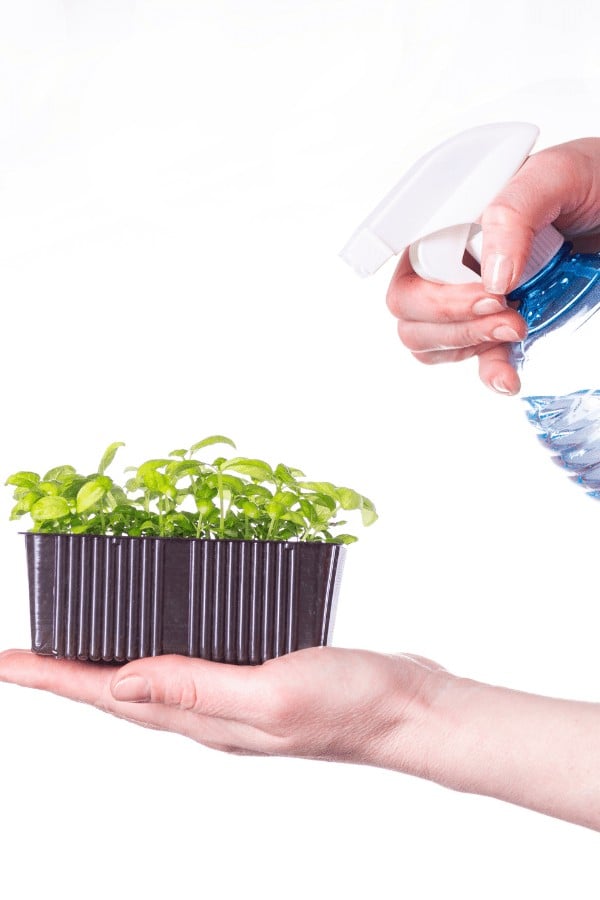
Keep the soil moist
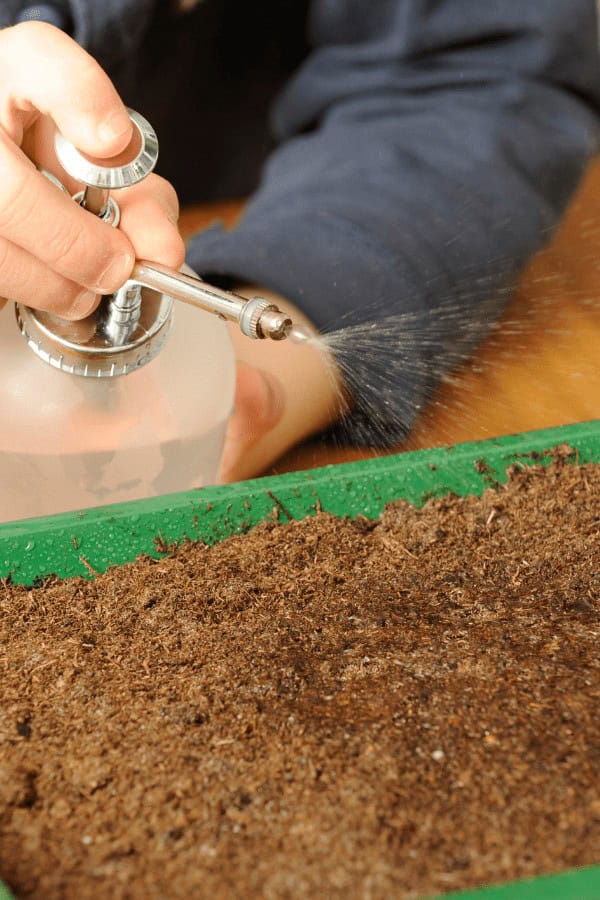
Once the microgreens have been planted, it’s essential to maintain a delicate touch when watering them. Use a spray bottle to provide a gentle soaking that doesn’t dislodge the tiny seeds from their new home. Aim for consistently moistened soil conditions until the first signs of growth appear in the form of sprouted greens.
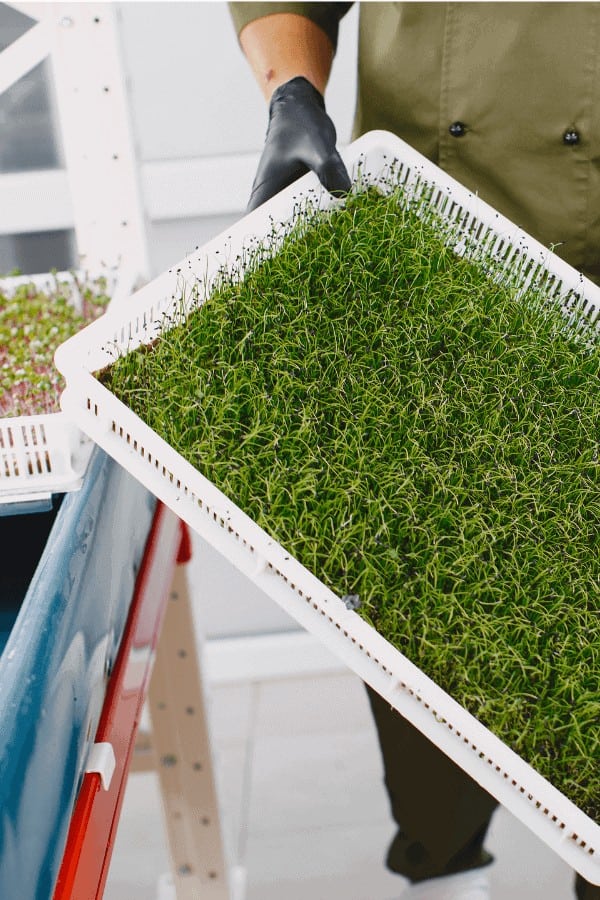
Thin out the seedlings.
Following the initial germination period, it’s crucial to perform a gentle thinning process to ensure the most robust and resilient microgreens are allowed to flourish. By selectively removing weaker or less vigorous seedlings, you’ll create an environment that fosters healthy competition and encourages the strongest plants to thrive.
Fertilize regularly

To sustain the growth of microgreens, it’s essential to provide them with a consistent supply of nutrients. This can be achieved by using a liquid fertilizer at intervals of every 2-3 weeks. By doing so, you’ll enable your microgreens to thrive and develop into robust and healthy plants.
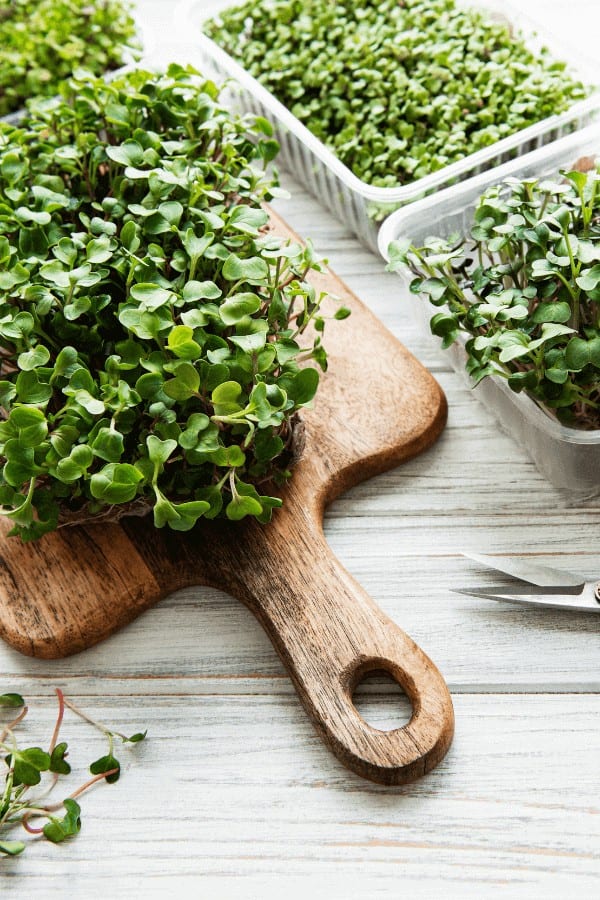
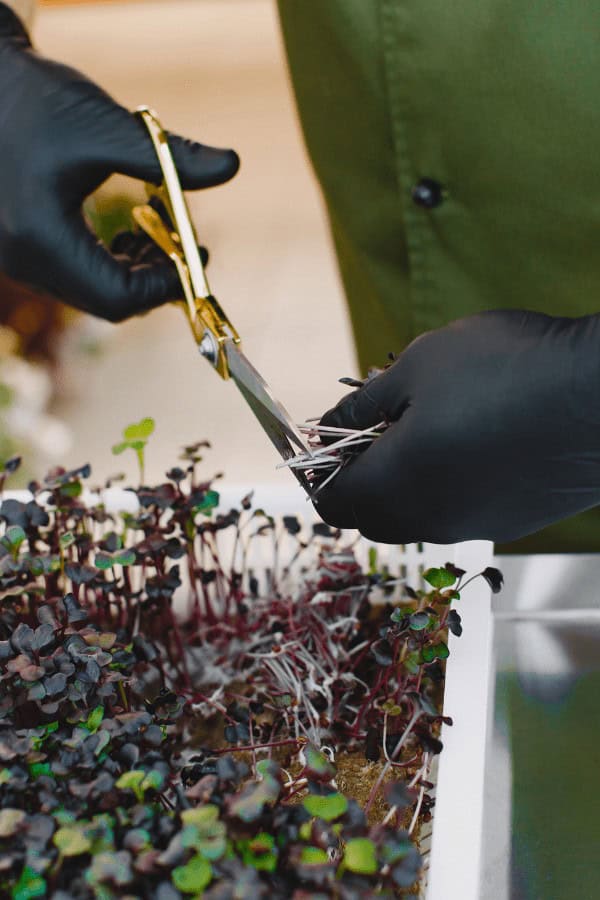
Harvest when ready
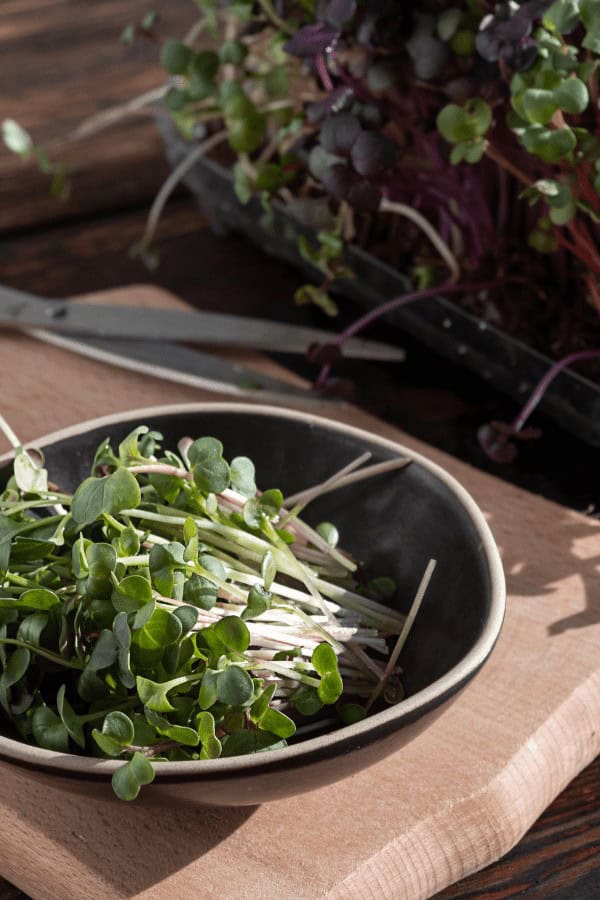
The average time from planting to harvest for most microgreens is remarkably short, typically ranging between two and three weeks. For optimal results, it’s essential to carefully snip off the greens at soil level using a pair of sharp scissors, ensuring a clean cut that minimizes damage to the tender shoots.
Enjoy your Fresh Microgreens!

Enhance the nutritional value and flavor profile of your meals by incorporating your recently cultivated microgreens into creative applications such as salads, wraps, and soups. This straightforward addition can elevate the overall eating experience while providing a burst of vitamins and minerals.
Mistakes to Avoid
When it comes to cultivating microgreens, a few key considerations can make all the difference between a thriving crop and one that falls flat. For starters, it’s easy to get carried away with watering, but overwatering can be detrimental to these tender shoots. With shallow roots, microgreens are particularly susceptible to waterlogging if they receive too much H2O.
On the other hand, providing just the right amount of light is crucial – about 6 hours of direct sunlight per day is ideal, but be mindful not to expose them to excessive light, as this can cause damage. Finally, resist the urge to overcrowd your microgreen plants, giving each one enough space to unfurl and spread its roots unhindered. By sidestepping these common pitfalls, you’ll be well on your way to harvesting a bountiful crop of nutritious and delicious microgreens.
Microgreens offer a unique trifecta: they’re fun, easy, and packed with flavor and nutrients. Perfect for beginners, these low-maintenance greens don’t require a green thumb or a sprawling garden. By following these simple guidelines, you’ll be whipping up healthy meal preps in no time – all thanks to the humble microgreen!